- No Multisession
- ISO Level 1 (Max of 11 = 8 + 3 chars)
- Mode 1
- Character set: ISO 9660
- No Joliet
- Finalize CD.
Be very careful when you change the firmware in your player. If it goes wrong, your player will probably be unusable!!!
The firmware in the NorthQ 7xxx player can be upgraded by burning a CD with the new firmware on. This CD is then inserted in the NorthQ, which will update itself automatically.
This is how to update the NorthQ 7xxx:
|
|
Download the appropriate update from the NorthQ website. |
|
|
Unpack the downloaded zip-file, the firmware file is called DVR20.AKI |
|
|
Launch Nero (I used version 6.0.0.11) (or any other CD burning software
that you have) and create a new CD using the
following settings: - No Multisession - ISO Level 1 (Max of 11 = 8 + 3 chars) - Mode 1 - Character set: ISO 9660 - No Joliet - Finalize CD. |
|
|
Add the downloaded file (named DVR20.AKI) to the compilation. |
|
|
Burn the CD (make sure you close/finalize the CD). |
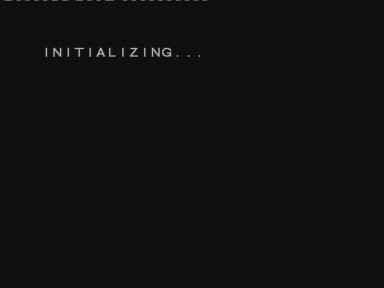
When the CD is ready, insert it into the NorthQ 7100 and close the DVD tray. During the update the following is displayed on the TV screen (among other things):
 |
If you click on the picture, you can watch a small video (662kB) showing exactly what happens on the TV-screen during the update procedure. |
When the update is finished, the player opens the DVD tray and then goes into standby mode. Remove the update CD from the DVD tray and turn the player on again.
According to the update instructions, it is also very important to do the following:
|
|
Format the hard-disk. |
|
|
Reset player setting to default values. |
|
|
Reset Index. |
According to the instructions, it is very important to do all this to make sure that all settings are correct for the new firmware.
Here is a detailed description on how to do the steps above:
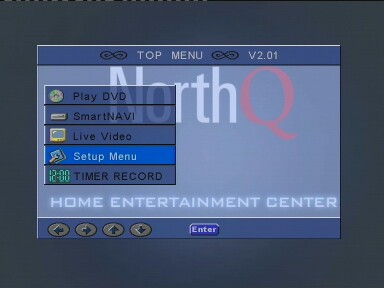 |
Format the hard-disk: Press the "SETUP" button on the remote control to get to the "TOP MENU". Scroll down to "Setup Menu" and press "ENTER". |
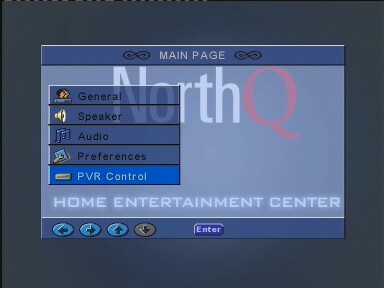 |
On the "MAIN PAGE", scroll down to "PVR Control" and press "ENTER". |
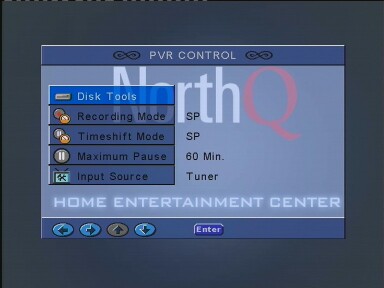 |
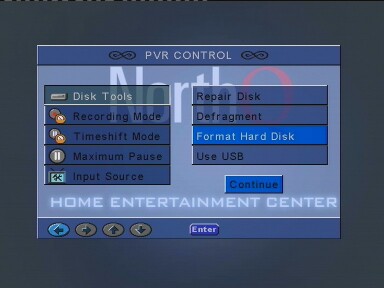
On the "PVR CONTROL" page, press "ENTER" to get to the "Disk Tools". |
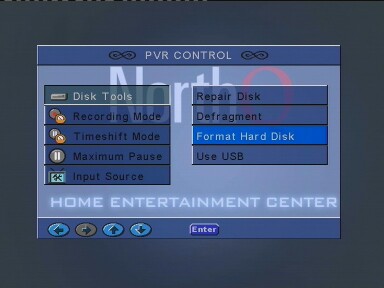 |
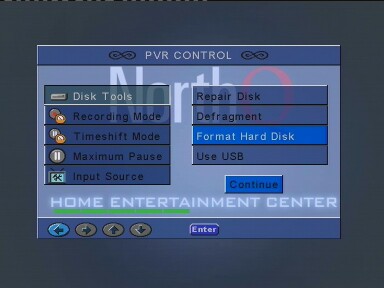
Press "ENTER" again to select "Format Hard Disk". |
 |
Press "ENTER" again to confirm the format. |
 |
Now the hard-disk will be formatted. A green progress meter will be displayed at the bottom of the screen. The format will not take long, formatting my 120GB disk takes about 20 seconds. |
 |
When the format of the hard-disk is ready, the NorthQ will restart itself. |
|
|
Reset player setting to default values: Press the "SETUP" button on the remote control to get to the "TOP MENU". Scroll down to "Setup Menu" and press "ENTER". |
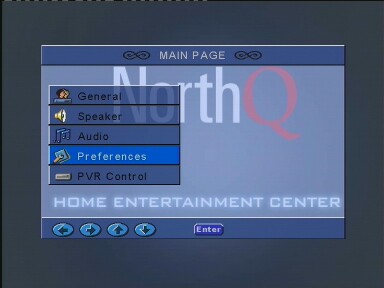 |
On the "MAIN PAGE", scroll down to "Preferences" and press "ENTER". |
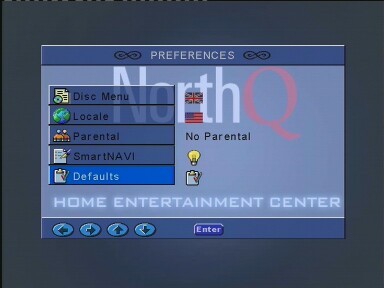 |
On the "PREFERENCES" menu, scroll down to "Defaults" and press "ENTER". |
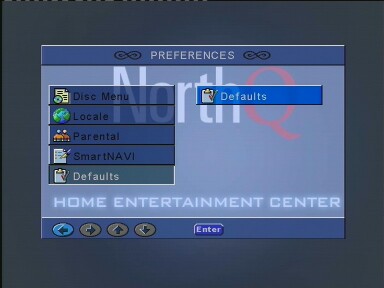 |
Press "ENTER" once more to confirm the reset to default values. |
|
|
Reset Index: Press the "SETUP" button on the remote control to get to the "TOP MENU". Scroll down to "Setup Menu" and press "ENTER". |
|
|
On the "MAIN PAGE", scroll down to "PVR Control" and press "ENTER". |
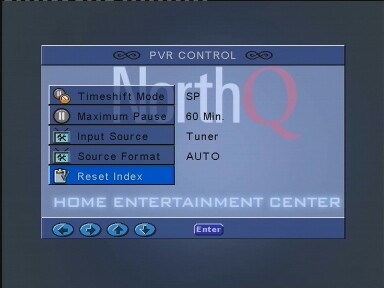 |
On the "PVR CONTROL" page, scroll down to "Reset Index" and press "ENTER". |
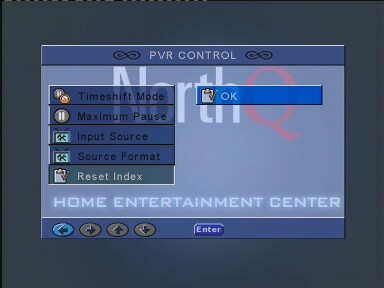 |
Press "ENTER" once more to confirm the reset of the index. |
Now the update is finished! You may have to make another scan to find the TV channels again, then you are ready to go!
This worked on my NorthQ 7100. I do not take any responsibility if it does not work for you.