|
|
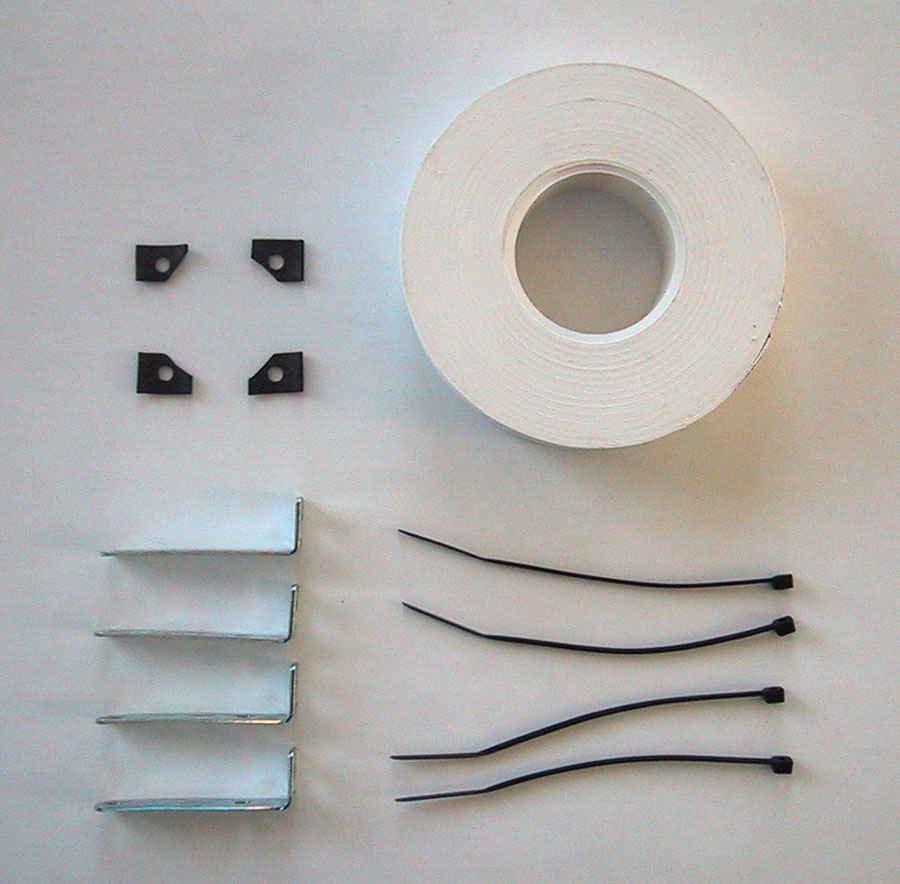
Four small rubber washers |
|
|
Four mounting brackets, about 50mm long |
|
|
Four plastic cable ties |
|
|
Self-amalgamating tape |
One of the most annoying things about the NorthQ 7000/7100 is the loud noise from the fan on the back of the machine! It was the first thing I noticed when I turned the power on for the first time, and it has been a constant source of irritation. As it have annoyed me so much, I thought that I should try to make the fan a bit more quiet.
First I went out and bought a really quiet fan, a Pabst Type 412/2 which had a noise-level of only 18 db(A). To my surprise, this fan made the same amount of noise that the original did! After a bit of experimenting, I found that the noise did not come from the fan itself, the problem was how the fan was placed. It seems as the fan is placed in a location which makes the airflow make a lot of noise.
After some more experimenting, I found a way to place the fan which made it much more quiet!
Please note that this change voids the warranty of the NorthQ! It is not scientifically tested either, so I cannot guarantee that it works as good on your NorthQ as it does on mine. I take no responsibility for any damages to the NorthQ player that may occur as a result of these changes!
So please think twice before trying this yourself!
Below I try to describe what I have done to make my NorthQ a lot more quiet than it is "out of the box".
What I have done is to move the fan our of the NorthQ about 4 cm using a small homemade "box".
|
|
These are the things I used to do the modification:
|
First you have to remove the top lid from the NorthQ, and
 |
Then it's time to remove the fan. This is done by removing the four buttons and
disconnecting the fan cables from the PCB. By the way, as you can see on this picture, I have already removed a bit of metal that previously covered the fan. |
 |
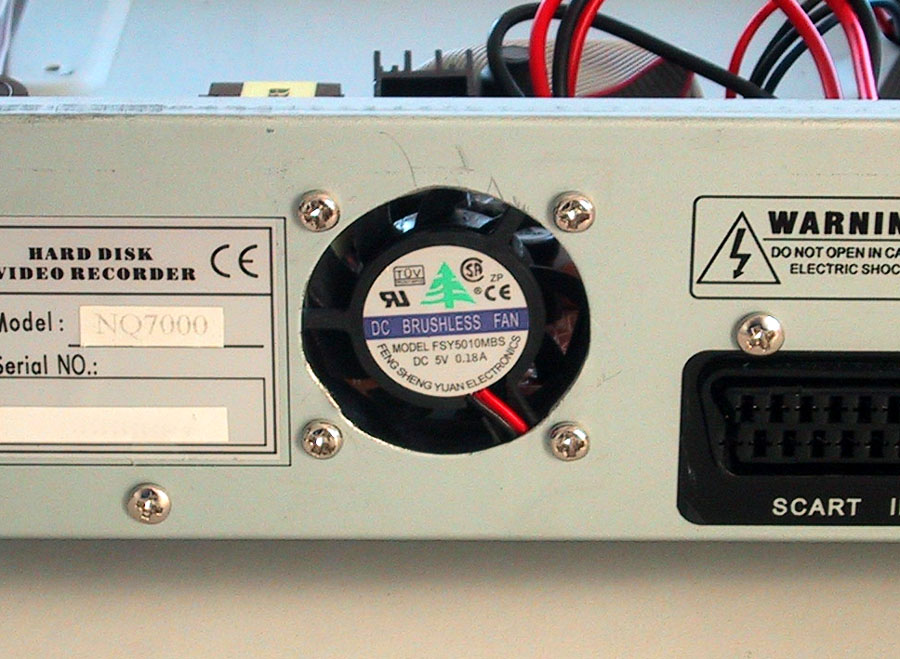
Normally, the fan is protected by some metal to make it harder to accidentally
insert your finger (or other things) into it
|
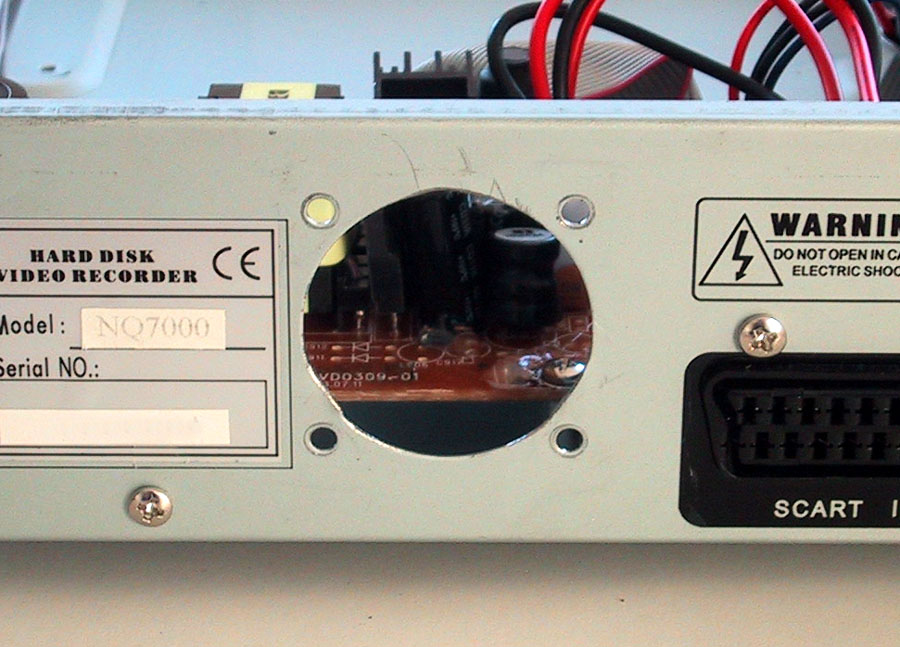 |
Anyway, after removing the fan, the protective metal that covers the fan-hole
has to be removed. I removed mine by cutting the three pieces of metal that
holds it in place with a power cutter. As this procedure can accidentally produce small metal pieces that can get into the NorthQ, it is probably best to remove the power-supply PCB before doing this. I also had a vacuum-cleaner on when I did this to remove any metal before it actually fell into the NorthQ. So be careful when doing this! |
As the fan will be moved a bit further away from the PCB where it takes its power, the fan-cables needs to be extended about 5 cm.
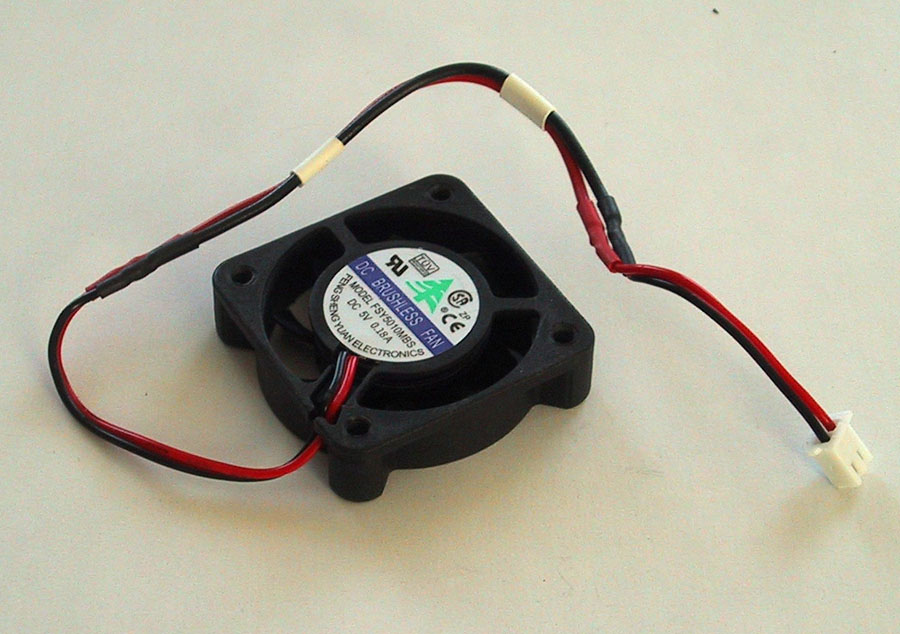 |
Here you can see the fan after I extended the fan-cables a bit. |
Now it's time to make the little "box" I talked about.
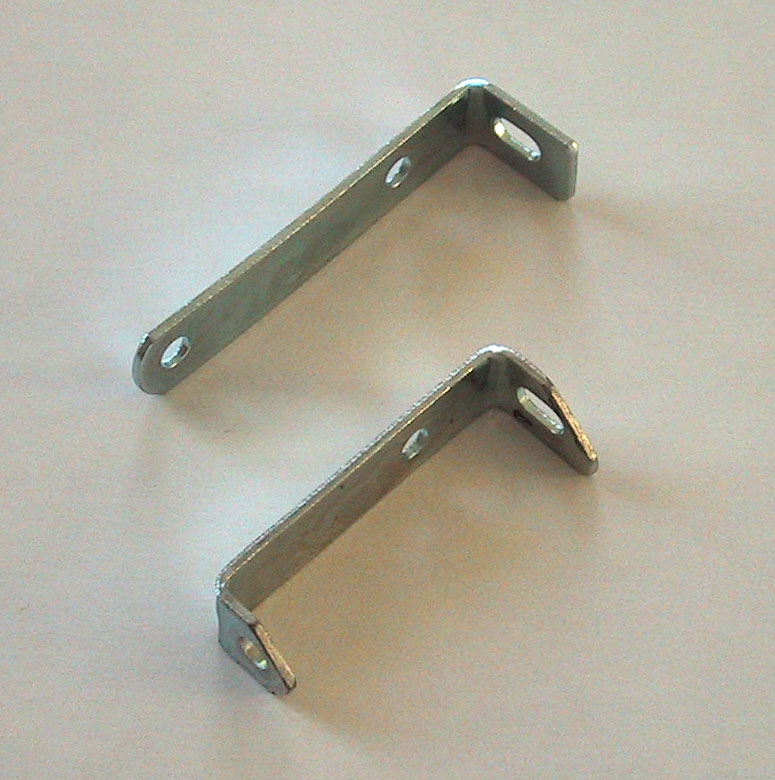 |
You need four mounting brackets (L-shaped), about 50mm long. The one on top in
the picture is the original bracket. Start by bending the four brackets so they look as the one below. I also removed a bit of the edges of the bracket with a file, but I don't know if this is necessary or not. Anyway, it made the result a little nicer to look at. |
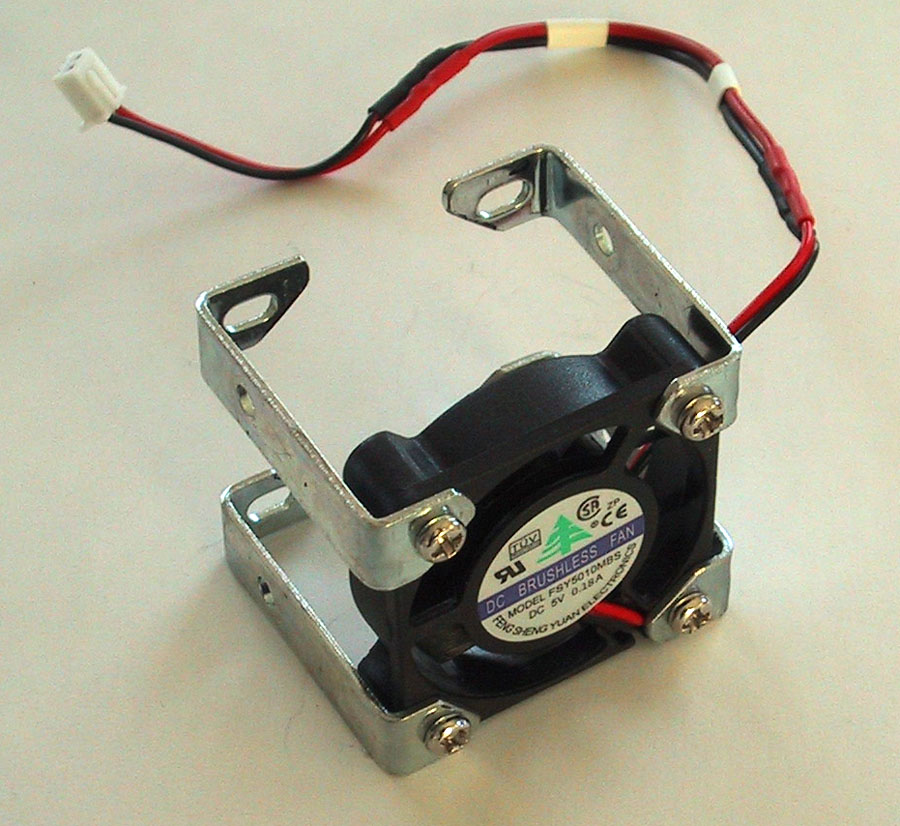 |
Then it's time to mount these four brackets on the fan. Use the original screws
that held the fan in place in the NorthQ to do this. It should look something like on the picture to the left. |
Now it's mounting time:
 |
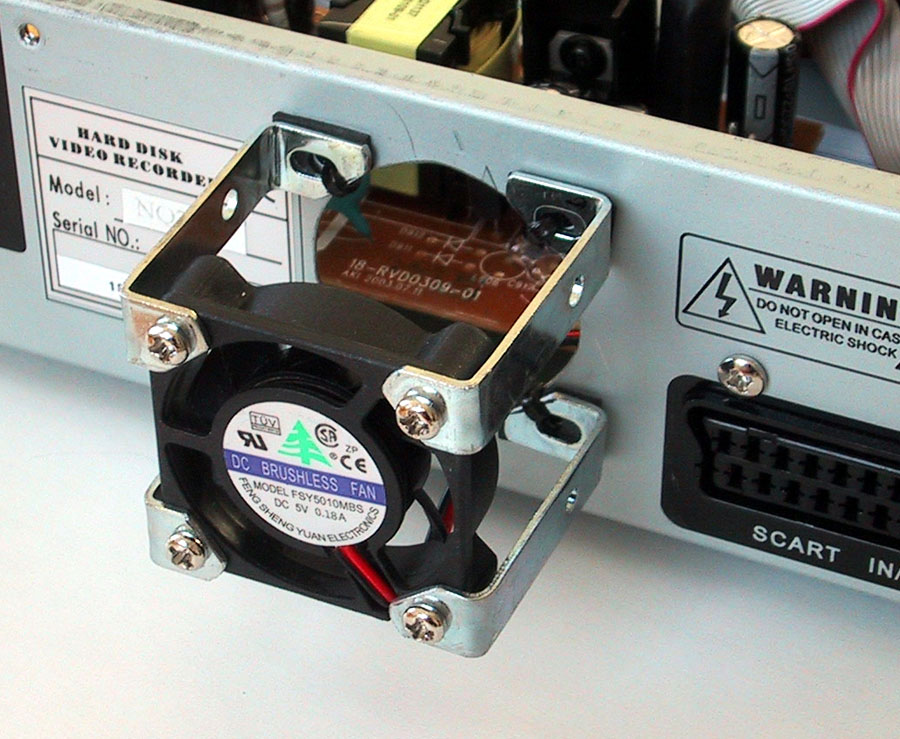
When you mount the fan back on the NorthQ, use the four plastic cable ties to
attach it in the original screw-holes for the fan. Also, put the small rubber
washers between the brackets and the backside of the NorthQ. I don't know how
much this helps to keep the noise down, but it cant hurt to have them there. This picture shows the fan mounted on the NorthQ again. I have not yet removed the superfluous plastic from the cable ties in the picture. |
 |
Here I have removed the extra plastic and mounted the power-supply PCB back into its original place. |
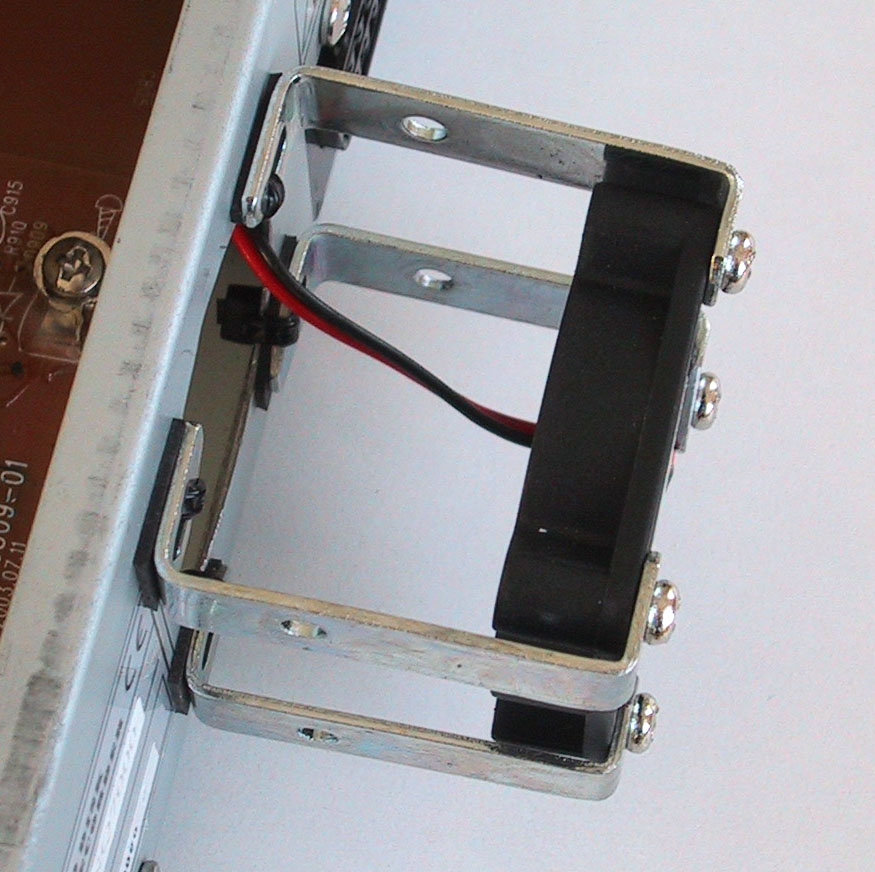 |
Here you can see the small rubber washers between the brackets and the backside of the NorthQ. |
 |
This is how it looks from the back of the NorthQ. |
So now it is only one thing missing, the cover on the sides of the "box":
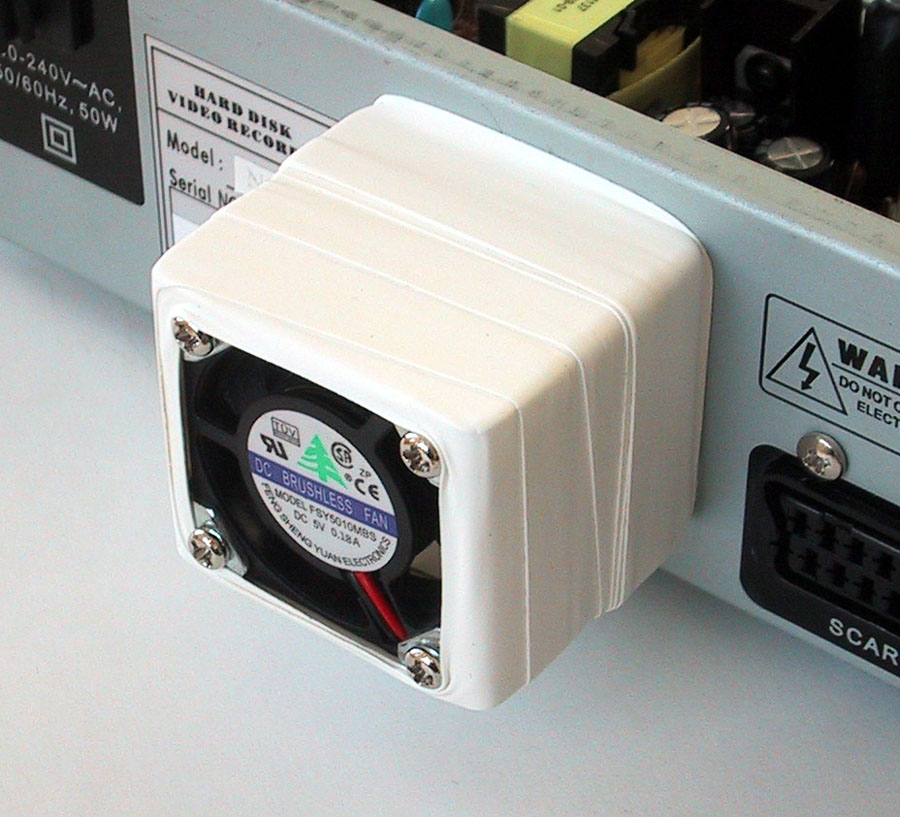 |
I used self-amalgamating tape to cover the sides of the box. It is a tape with
you stretch to about double of its original length, and then apply. It has no
adhesive but over a period of hours adheres to itself and forms a single
amalgamated rubber molding conforming to the shape of the items it is covering. So this is how it turned out! |
 |
It's not the most beautiful thing I have ever made, but it works! |
That's it! This modification made a huge difference in the amount of noise my NorthQ makes.
I have tried to measure the temperature inside the NorthQ (with the top lid on), both before and after the modification, and I have not found any significant differences. At most 1-2 C° higher temperature after the modification, I hope that this does not make any difference.